Thursday 12 January 2012

Banana Bread

Banana Bread

Ok, so usually if you have to play the ‘waiting game’ to make Banana Bread it’s because you’re waiting for the banana’s to get those little black spots that tell you their overripe.  However, when I made this loaf of banana bread my bananas were ready to go yesterday I had to wait till today before I could use them because I was on the Gold Coast all yesterday and last night!  Oh the torture!!! I think I may have even dreamt about banana bread last night...

So I got up at 6am and went straight down to the kitchen to use my bananas!  Would you believe my brother (who was asleep on the couch) actually slept through the mix master!!!! Wish I could do that...It was in the oven by 6.45 but because I like mine with extra banana, it took a little longer to cook than what I would have liked.  Worth the wait in the end though, the aromas filling the house and the intense banana scent when I took it out of the oven was just amazing.  You could smell it throughout the house (over 3 floors) and out the front in our courtyard!  I bet the neighbours hate me today...

It was pretty hard for me to restrain myself from gobbling up the whole thing right then and there, but fortunately the loaf is still in its entirety and I will wait till it cools and moistens up THEN slice off a huge piece and devour it!  I find if you leave banana bread to itself for a little the banana flavour comes out a little more and the whole loaf just have a stickier and moister feel to it, worth the wait!

Super Moist Banana Bread from Spark Recipes

1/2 cup (113g) butter, softened
1 1/4 cups castor sugar
2 Eggs
4 tbsp Sour Cream (can use yogurt as well)
1 1/2 cups plain flour
1 tsp baking soda
1 tsp vanilla extract
1 1/2 cups overripe bananas (3-4 small or 2-3 large)

Mixture
Method:

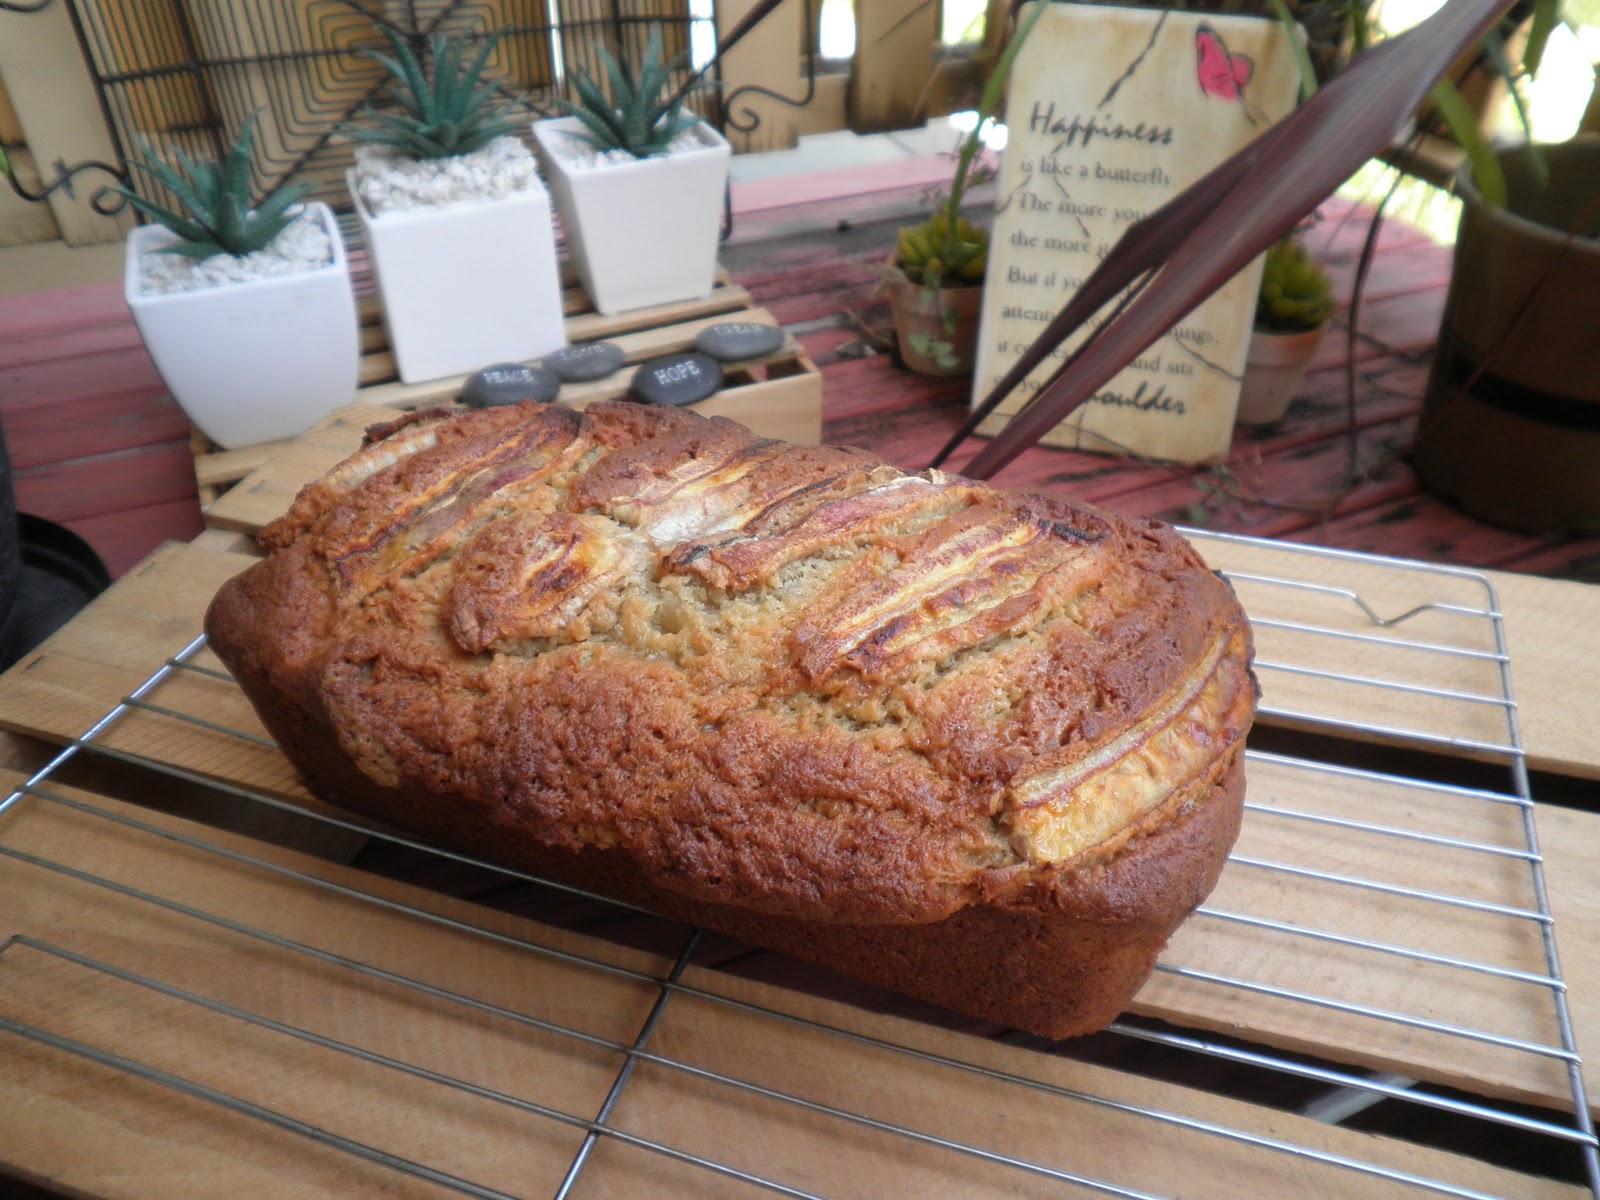
Line a 9" x 5" loaf pan with baking paper and spray with non-stick spray.  Then preheat the oven to 180C.  Beat the butter and sugar together then add the eggs, mixing well after each addition.  Then add the sour cream, flour, baking soda, vanilla, and bananas and mix well.  Pour the mixture into the prepared tin.  If you have any left over bananas, slice one thinly top to bottom and lay the strips diagonally on top of the mixture.  Bake for about 50-60 minutes or until a skewer inserted into the middle comes out clean.  


Then...let it sit and cool off, get all moist and yummy and......ENJOY!

Love in Baking, Passionate Baker! 2:D

Monday 9 January 2012

First Post--Red Velvet Cupcakes

-
Red Velvet Cupcakes
So I've been meaning to start a baking blog for so long, but have just never gotten around to it.  I've taken photos of majority of the things I've either baked or cooked in hope that I would one day eventually be motivated enough (or have the time to) start this blog.

My first Baking Post, being after Christmas and all, should rightfully be the baking goods I made for our families Christmas Eve Dinner.  I made Red Velvet Cupcakes, a cake I had never attempted but somehow managed to actually do right!

These cupcakes were to die for, adapted from Lick the Bowl Good's baking blog.  I omitted the pecans and layering of frosting and cake so that I could turn them into cupcakes for my Christmas Tree Cupcake Tower.

Red Velvet Cupcakes

Ingredients:


  • 2½ cups all purpose flour
  • ½ tsp salt
  • 1 tsp vanilla extract
  • 1 cup buttermilk
  • 2 tbsp cocoa powder
  • 2 tbsp red food colouring
  • 1 cup (227g) butter
  • 2 cups sugar
  • 2 eggs
  • 1½ tsp bicard soda*
  • 1 tbsp white vinegar
Method:


Preheat oven to 180C.  Arrange cupcake cases in a 6 hole patty-cake/muffin pan, then spray lightly with non-stick spray.  I always do this to make sure you don't lose half your cupcake when you try to take the cases off.


This recipe requires three separate bowls, one small, one medium, and one large.  Combine the flour and salt together in the medium bowl.  Then in the small bowl  mix the cocoa and red food colouring together to make a dark red, almost brown, paste.

Then in the large bowl beat the butter on a low speed until it is creamy and soft.  Add the sugar and continue beating until the mixture becomes light and fluffy, this should only take a few minutes.  Gradually add the eggs, mixing well after each addition.  Once the mixture has a smooth and glossy look and is quite fluffy, you can add the red-cocoa paste.  Beat this in until the colour is evenly dispersed in the egg mixture.

Combine the vanilla and mix in a pouring jug.  Then add about a third of the flour mixture to the egg-cocoa past batter, followed by half the milk.  Beat with an electric mixer on a low speed, only enough to combine the ingredients.  Then add another third of the flour and the remaining milk.  Once you've mixed these in, add the remaining flour in the same way.

In a separate bowl combine the baking soda and the vinegar.  Then, using a wooden spoon quickly stir this mixture through the cake batter. Make sure you stir this through gently, this cake should never be over mixed so to ensure it remains light and fluffy.  

Once you have done this you can scrape the batter into the individual cupcake cases.  Fill each cupcake case just above half way.  Any less and they won't rise to the top of the cases.

Bake in the prepared oven for about 25 minutes, or until they spring back when touched.  The cupcakes should look glossy or sticky on top, this means they will be nice and fluffy on the inside.

Place them on a cooling rack and let cool completely before frosting them.

*Bicard soda and baking soda are terms used interchangeably, however they are different from baking powder.  Baking powder already has cream of tartar added to it, but in recipes such as this where vinegar is used, the necessary reaction to make the flour rise can be obtained using bicarb soda.

Cream Cheese Frosting, adapted from Lick the Bowl Good

  • 1 Cup butter, at room temperature
  • 250g Philadelphia cream cheese, softened
  • 2 tsp vanilla extract
  • 4 cups icing sugar (I used soft)
  • Lime food colouring
Gorgeous Red Inside
Using an electric mixer, beat the butter at medium speed until creamy. Add the cream cheese and beat until combined. Then add the vanilla extract and powdered sugar and beat at low speed, occasionally stopping to scrape the sides and bottom of the bowl, until light and fluffy.

As I was using my cupcakes for Christmas I wanted green frosting so I added around 9 drops of yellow food colouring and 3 drops of green food colouring to get a subtle green tinge to the frosting.

Icing the Cupcakes


To be honest, I rarely use frosting, I am more of a glace icing girl.  But this sort of recipe needed cream cheese frosting to make it so I thought I'd better try my hand at piping the frosting on.  I used a nozzle that had about 5 little tooth marks and just swirled the frosting on in zig zags.  Once I'd done that I sprinkled each cupcake with silver cachous (BEFORE the frosting set).  I had leftover frosting, and stored it in the fridge (it was then eaten at will!).


I then assembled the onto a Christmas Cupcake Tree (literally a Christmas Tree!).  The family loved it! =D  

The recipe may look a little bit nit-picky, but have a go, it was definately worth it! droooool....

Love in Baking, Passionate Baker! 2:D